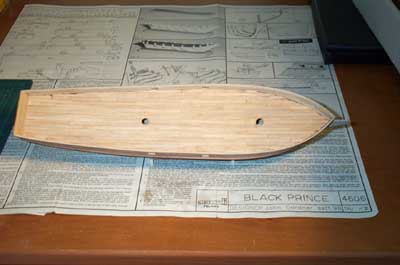
First, though, I drilled and shaped the hole through which the rudder head would extend above the deck; the rudder itself had yet to be addressed by the kit instructions, but I found it in the kit box and shaped it to fit properly through the hull.
I chose not to make any changes to the color scheme depicted on the kit box art — stained wood from the wales up, black from the waterline to the wales, and white below the waterline.
Prime. Sand. Repeat.
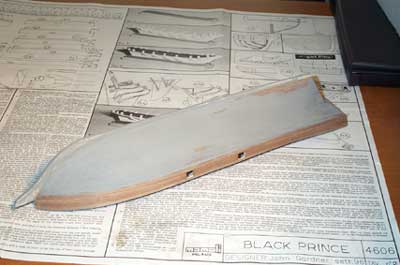
Relying on my vast model-painting experience, I free-handed the primer up to the lower edge of the wales. Sanding followed, revealing some flaws — bumps and divots, mainly — in my planking job, which were corrected with additional block sanding, or with thin applications of filler as necessary. This process was repeated twice, until I was satisfied that the hull was ready for paint.
I started with white paint, from the keel up to within about 3/4" of the wales; on white, it would be easier to mark the delineation between black and white areas; I figured it would also be easier for the later black paint to cover the white than vice-versa.
The white I used didn't give me the opacity I wanted, so it took three coats to get a solid white base on which to work. After allowing the white to dry/cure for a few days, I gave it a coat of clear varnish, which I allowed to cure for a week.
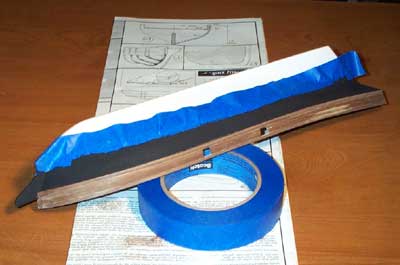
I ticked off the waterline with soft pencil and then masked it with painters tape. The thorough drying of the white paint and varnish allowed me to burnish the low-tack tape down such that there would — I hoped — be no opportunity for the black paint to seep or bleed under the edge of the tape, and would later allow me to remove the tape without pulling up any of the varnish or white paint.
As with the earlier primer, I free-handed it up to the lower edge of the wales. The black paint had better opacity — only two coats were needed to cover the primed wood well.
After a couple days of drying, I carefully peeled off the painters tape, revealing only a couple spots of "bleed" which detracted from the crisp painted edge. These were easily but ever-so-carefully corrected by light scraping with a very sharp new #11 X-acto blade; the varnish atop the white paint really paid off there.
The entirety of the painted portion of the hull then received two coats of varnish, and the bare walnut above the wales received an application of stain.
The rudder was masked and painted it the same way as the hull.
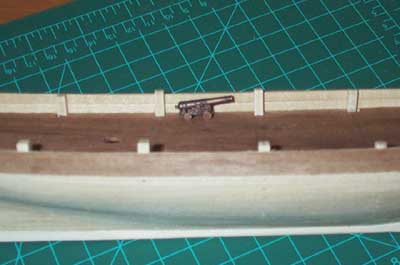
The hull being basically complete, we will next turn to the deck fittings.
]]>